Installation
Log into your Tumblr account and head on to your dashboard.
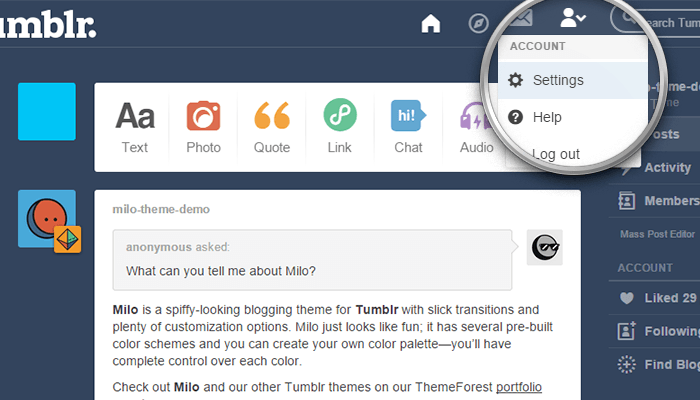
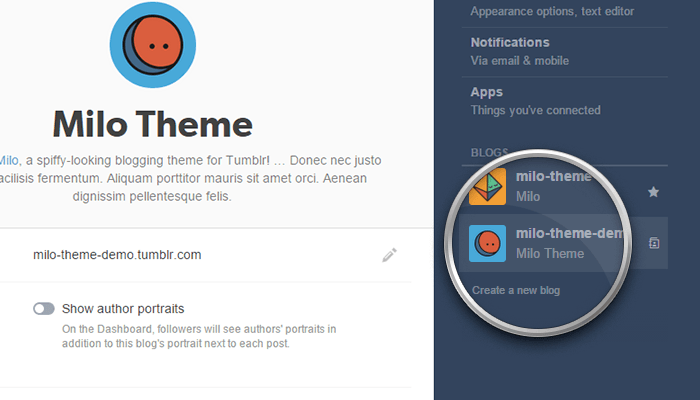
Click on the “gear” icon at the top of the page, and once on the Settings page, select the blog you want to install the theme on from the list on the right, if you have more than one blog listed under your account.
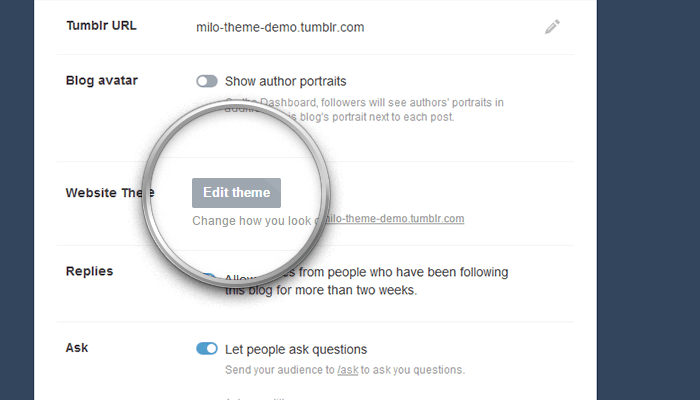
Click on the Edit Theme button—you will be taken to the Theme Customizer.
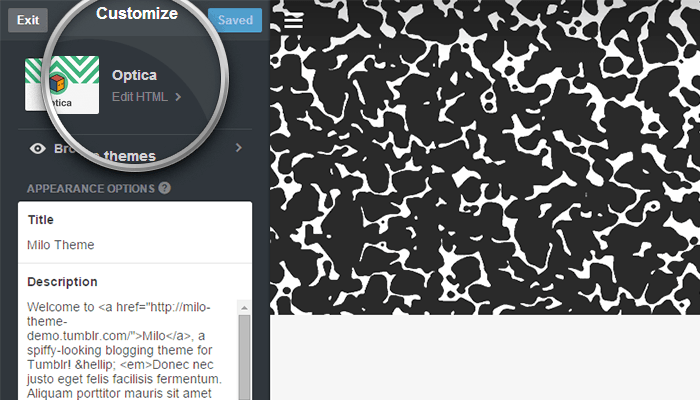
Once on the customizer, click on the Edit HTML hyper-link.
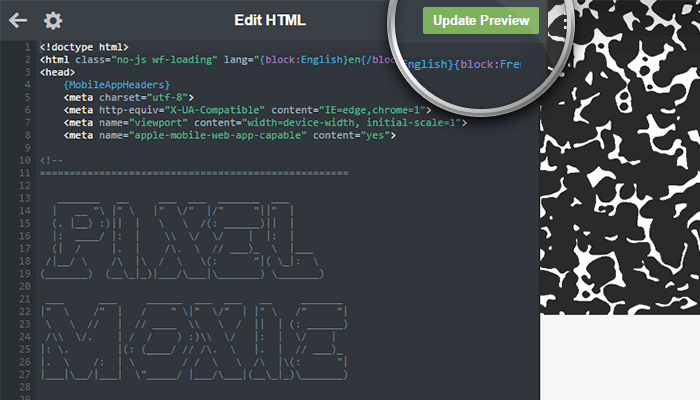
Open the .zip archive you downloaded from ThemeForest, and on the “theme” folder, select either pixelmoxie-milo-1.0.2.html or pixelmoxie-milo-1.0.2.txt. The two files are identical, the only difference being the file extension. If you have trouble opening or editing the HTML file, go for the text file instead.
Open the file using your favorite HTML or a plain text editor. If you’re working with TextEdit on a Mac, you want to follow the steps outlined on this article so TextEdit is properly configured to work with HTML documents. Or you could download a copy of TextWrangler and give it a try.
Select the file’s entire content and copy it, then paste it on Tumblr’s HTML editor, replacing the code of your previous theme entirely. Make sure the result looks similar to the image below. If you see some gibberish instead of those tags, the installation process won’t be successful.
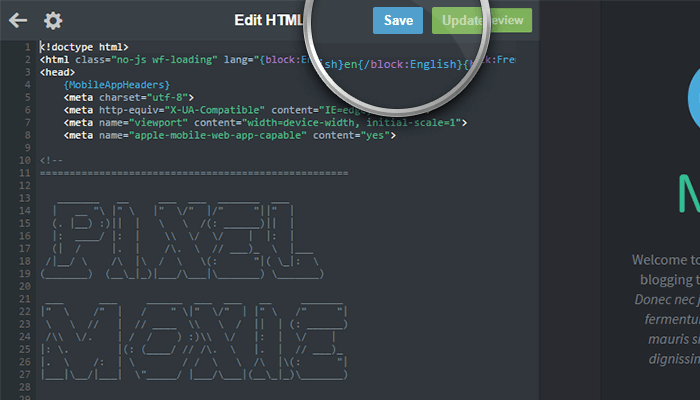
Click on Update Preview, wait until the preview refreshes and click on Save. There’s a good chance the live preview won’t look quite right until you refresh your browser window, so do that and check the changes.
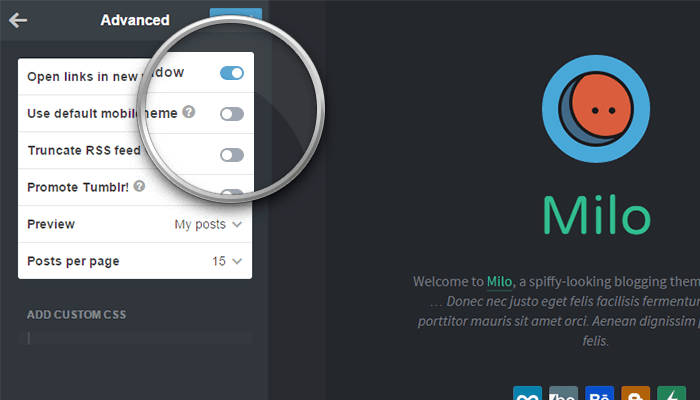
Scroll down to the bottom of the customizer and go into the Advanced options section. Make sure Use default mobile theme is off, unless you want to display Tumblr’s generic mobile layout on phones. Now it’s a good time to set the Posts per page option as well.
Congratulations! Milo is now installed on your blog.